Scrapbooking, Buddies

SaskiaPillow2
 
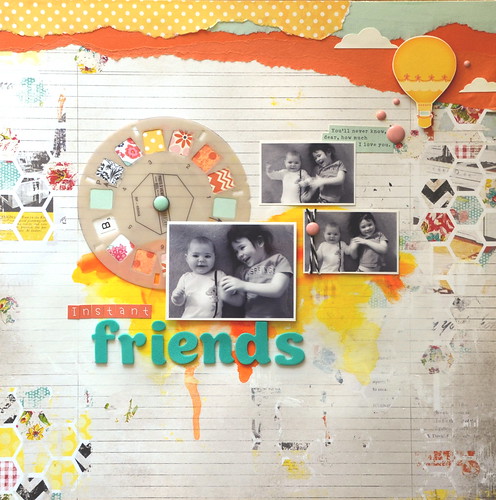
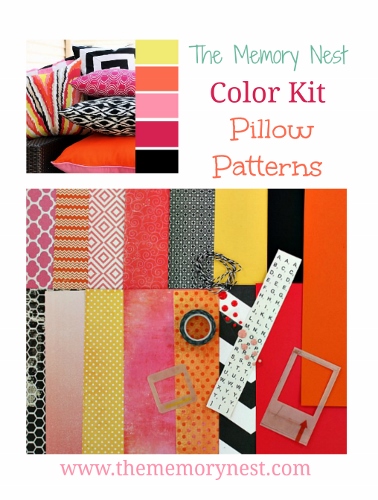
I might still not have the internet at home, but it isn't going to stop me from sharing this page for the Memory Nest's Pillow Patterns

AprilPilloPatterns

It's a really easy page to make.  I used the Cashmere Dame Honeycomb paper and brushed some gesso onto the background really thinly.  Once it dried, I rubbed on some gelatos and then misted them with a little bit of water to make them run.  Then I used the solid orange cardstock from the kit, the yellow polk-a-dot paper and some blue from the Lucky Charm paper for the top part of the page.  I also cut out the little clouds, air balloon, and saying from the Lucky Charm paper and put some pop dots under them to give a bit of dimension.
 
SaskiaPillow4
 
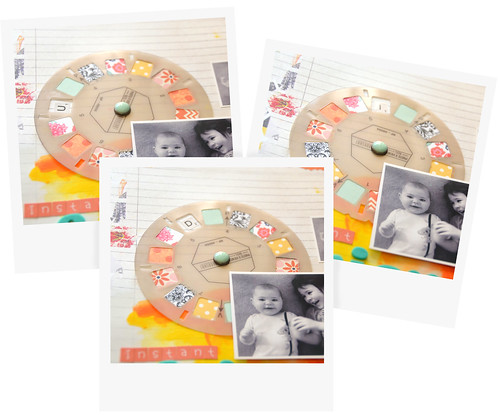
My favorite part is the spinner.  It spins around to reveal the word "Buddies."  I cut lots of squares from all the papers from the kit and glued them onto the viewer frame.  The teeny alphas fit perfectly in the little squares.  I did have to use a brad from my stash and also used some thickers I had for the rest of the title.
 

Comments

Popular posts from this blog

Fish Finger Glove Puppet

I just love being back east and being with all of my family for Christmas, but I don't like the travel and I really don't like the germs.  We managed to bring back with us some lovely east coast germs.  Little Moose took it the hardest and still is a little bit sick.  Anyways, I finally got the chance to get back onto my computer and I just have to share with you what my sister-in-law made for us.  There are a bunch so I'll share one every day this week! I love the bright colors of the fishes!  Each glove puppet came with a poem.  They are just to cute!

Valentine's Day Wreath

Now that the Christmas decorations are down, it is time to make some Valentine's Day decorations to put up! I have seen some in the store, but it is much more fun to make your own.  So here is how I made my sweet heart wreath. First you need a hoop (the one I used had about a 7 in diameter), 7 big wooden hearts, 8 small wooden hearts, paint, glitter, ribbon, and some hot glue. I took all my hearts and painted them a solid color and then went back over them and made some patterns or outlined them. I thought they were looking a little boring so I went back and put some glitter on random ones. Then I went around and hot glued the big ones and tried to make them as evenly spaced as possible. Then I hot glued the smaller ones on top of the bigger hearts, tied some ribbon, and then hung on my door!

Scrapbooking, Adore

    Every once in a while, I make a layout that I absolutely love and this is one of them.  I think it might be the rainbowness of it all that I love.  This is really a random photo of my daughter that I took while we were waiting for the bus.  I played with the photo on my phone and made it more rainbowy.  I really like how it came out, so I printed it out for my project life, but then I decided it needed its own page.  It really is a random page for a random photo.     This is my page for the Memory Nest . The circles on the sketch were my major inspiration.  I felt that they would make a fun background.  At first, I changed the circles to triangles and then I noticed all these old frames on my desk.  I'm a chipboard frame hoarder. lol.  I thought most of the frames were really ugly or they had patterns that I would never use.  At first, I was going to just paint the frames white, but then I decided to make them gray.  I'm glad I made them gray because now they